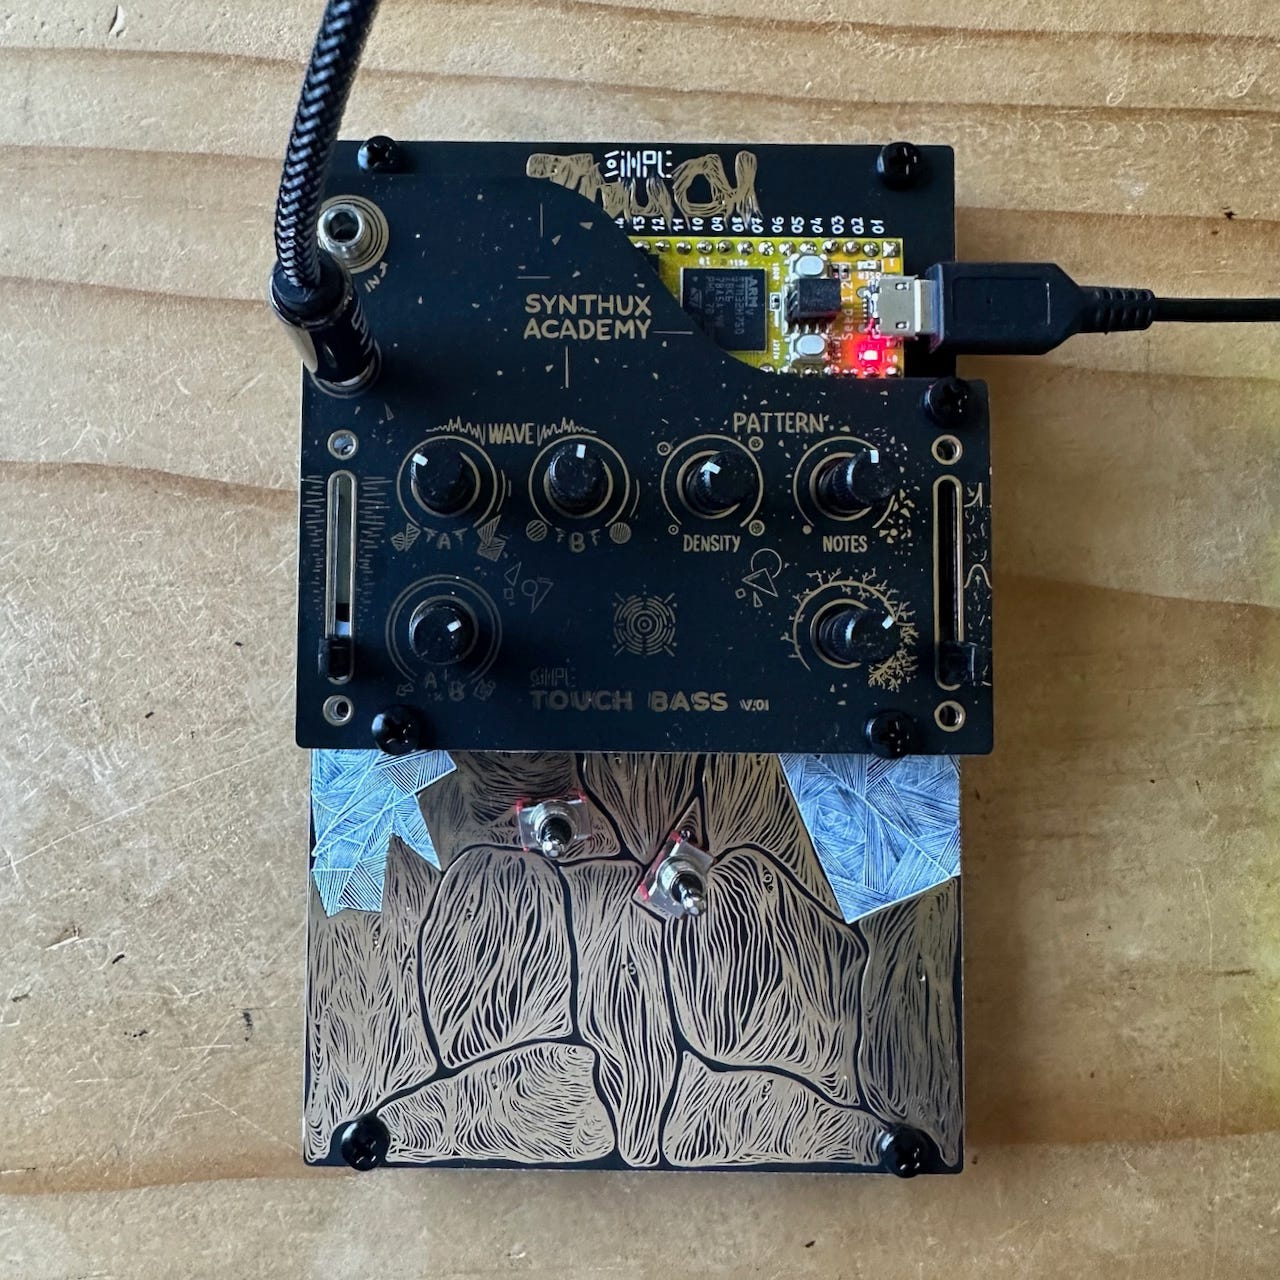
Yesterday I received my Synthux Touch 2 DIY simple synth kit and soldered it together before dinner. This cool little synth uses the Daisy Seed controller and has a number of instruments and effects you can load via the Arduino IDE. I’m not a programer, nor have I used the Arduino code environment, but in my past I dabbled with some coding at a robotics company I worked for, so the software wasn’t a total mystery to me. (I’m also not a musician, so these are hobbyist dabblings!)
The build instructions were pretty straight forward and I put the kit together in an hour or less. Synthux Academy had a beginner tutorial on getting the Arduino IDE set up and that went well enough. For a complete beginner a little more depth of instruction may be helpful as I needed to figure out a few things before I could get a Touch instrument code installed. Once installed I had sound, phew!
This device uses touch pads to trigger the sound, those touch pads are the funky gold designs seen above. In the kit, they give you four control panel backgrounds which show what the knobs and sliders are for. There is a panel for Touch Bass (above), Touch FX, Touch String, and a blank one for your own programs or designs. These swap out easily by removing three screws. For my first tests I’m using the Touch Bass instrument. I find the sound to be very good! There isn’t a ton of info about each instrument, so I’m learning by playing with the settings and seeing what comes out.
The video is just a very short example of some of the sounds I had going this morning. I assume this instrument has a looper and it is looping the sounds from the pads I touched prior to starting the video. This synth is a little mysterious, but very cool sounding and looking.
Perhaps in a future entry, I’ll post a decent MP3 file from a recording I’m doing in Logic Pro.
If this interests you, check out Synthux Academy to learn more about theses devices and what they are doing.
Thanks for looking!


Share this post